The AstroViewer displays
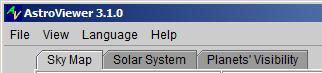 AstroViewer offers you the following displays:
- Display a Sky Map for the specified location and time.
- See a 3D Solar System map for the specified time.
- The Planets' Visibility chart shows you which planet is above the horizon at the specified location during the selected night.
All AstroViewer views can be printed and saved as PNG images.
Sky Map

The sky map represents the entire visible celestial sphere. Zenith, i.e. the point directly overhead, is in the center of the map. The perimeter is the horizon.
The center of the display is the direction you are facing. You can change the viewing direction with the sliders "Rotation" (at the bottom) and "Inclination" (at the right). Moreover, you can use the zoom slider (at the left) to enlarge the viewing section.
Display name and detailed info of a celestial body
Move the mouse pointer onto the celestial body. Its name will be shown. A mouseclick brings up some more detailed information. In the case of fixed stars, the constellation the star belongs to is named as well.
Set the time
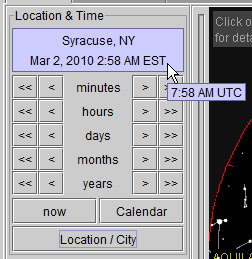 Use the control field "Time". Click the buttons to change time in small or big increments or decrements. Or set the date using the calendar.
When you move the mouse pointer over the time display, the time in UTC appears (UTC = Universal Time Coordinated, corresponds to Greenwich Mean Time, GMT).
Moving the mouse pointer over the location display brings up the location's coordinates.
Set the location
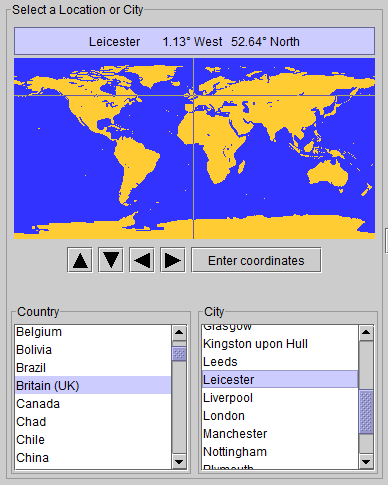 Clicking the button "Location / City" in the control field "Location" opens the dialog "Select a Location or City". Choose a location on the world map or from the city list.
The current location will be saved when you quit the program. When you next time start AstroViewer, the saved location will be set already.
Enter your own locations
 Click the button "Enter coordinates" in the dialog window "Select a Location or City". A dialog "Enter coordinates" appears where you can enter name and coordinates of the desired location.
Add or delete location favorites
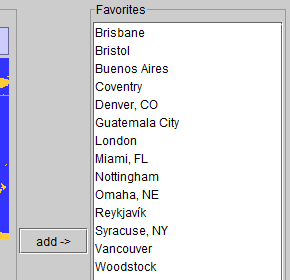 You can add your preferred locations to the favorites list. That way they can be selected quickly when you need them.
Choose a location on the world map or from the city list. Or enter name and coordinates of an own location. Then click the button "add ->".
To delete a location mark it in the list and click the button "delete".
Your location favorites will be saved when quitting the program. They will be available when you next time start AstroViewer.
Find a celestial body
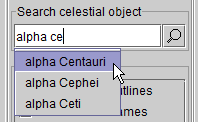 Type the name of the celestial body into the text field "Search celestial object". Suggestions are presented while you are entering the name. A flashing red crosshair indicates the position of the celestial body (if it is above the horizon seen from the current location at the set point of time).
Find a constellation
Type the english or latin name of the constellation into the text field "Search celestial object". Suggestions are presented while you are entering the name. Red flashing outlines indicate the position of the constellation in question (if it is above the horizon seen from the current location at the set point of time).
Zoom the sky map and set the view direction
The center of the display is your direction of view. You can change the view direction with the sliders "Rotation" (at the bottom) and "Inclination" (at the right). Moreover, you can use the zoom slider (at the left) to enlarge the viewing section.
Show auxiliary lines
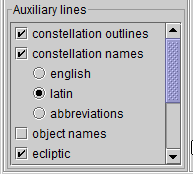 Choose from the control field "Auxiliary lines".
Solar System map

A 3-dimensional map of the solar system with the planet orbits is displayed. The orbits of some dwarf planets can be enabled as well.
You can rotate the display with the rotation slider at the bottom or the inclination slider at the right. The zoom slider at the left lets you zoom in and out as you like. Please choose also from a selection of auxiliary lines.
Planets' Visibility Chart

The Planets' Visibility Chart shows you when the moon and the planets are above the horizon at the set location during the selected night. The background indicates day (light blue), night (black) and twilight.
The globe at the lower left is centered to the set location. Day, night and twilight are shown here, too.
Print a view
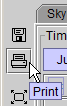 To print an AstroViewer view click the button with the printer symbol in the tool bar at the left.
Alternative ways are using the menu item "Print" in the menu "File" or pressing the keys "<Ctrl>p".
The current settings of location, time and auxiliary lines will be adopted.
Save a view
 The AstroViewer views can be saved as PNG image files. The images size corresponds to its size on the screen. To save an AstroViewer view click the button with the disc symbol in the tool bar at the left.
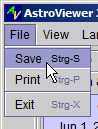
Alternative ways are using the menu item "Save" in the menu "File" or pressing the keys "<Ctrl>s".
The current settings of location, time and auxiliary lines will be adopted.
Full screen and redlight mode
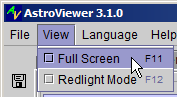 In the full screen mode AstroViewer fills up the entire screen.
You can enable the full screen mode via the menu item "Full Screen" in the menu "View", the button with the full screen symbol in the tool bar at the left or by pressing the "F11" key.
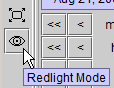 In the redlight mode you can use AstroViewer dazzle-free in the darkness, eg. when you deploy it while observing the bnight sky.
You can enable the redlight mode via the menu item "Redlight Mode" in the menu "View", the button with the eye symbol in the tool bar at the left or by pressing the "F12" key.
It is a good idea to combine full screen and redlight modes.
Choose the language
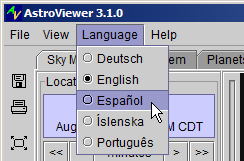 In the language menu you have the choice between German, English, Spanish, French, Icelandic, Dutch and Portuguese.